Tutorial
This tutorial use case is:
Search for the resumes (PDF or Word file which resides in One drive or local) and search for anything in the content using Kibana. For example location worked or the previous company, etc.
The fastest way to follow this tutorial is to run Elasticsearch and Kibana with Elastic’s start-local script, and FSCrawler with Docker. If you prefer a manual install, see Alternative: manual installation.
Recommended: Docker and start-local
Prerequisites
Start Elasticsearch and Kibana
Run Elastic’s start-local script:
curl -fsSL https://elastic.co/start-local | sh
This creates an elastic-start-local directory, starts Elasticsearch and Kibana in Docker, and writes credentials
to elastic-start-local/.env.
After a few seconds, check that the services are up:
Elasticsearch: http://localhost:9200
Kibana: http://localhost:5601
Load the generated API key (you will need it for FSCrawler):
cd elastic-start-local
source .env
echo "$ES_LOCAL_API_KEY"
Note
start-local is meant for local development only. It exposes HTTP (not HTTPS) on localhost.
Start FSCrawler with Docker
Pull the FSCrawler image. See Using docker for details (including the smaller
noocrvariant):
docker pull dadoonet/fscrawler
Create a job named
resumes:
docker run -it --rm \
  -v ~/.fscrawler:/root/.fscrawler \
  dadoonet/fscrawler --setup resumes
Edit
~/.fscrawler/resumes/_settings.yamlso the crawler reads documents from/tmp/esinside the container (this is the defaultfs.urlvalue). A minimal job file looks like:
---
name: "resumes"
fs:
  url: "/tmp/es"
Leave elasticsearch.index unset. FSCrawler will index into resumes_docs and create a resumes alias.
Put your resume files in a local folder (for example
~/resumes), then start FSCrawler. From a Docker container, Elasticsearch on the host is reached viahost.docker.internal(not127.0.0.1):
# From the elastic-start-local directory, or after: source elastic-start-local/.env
docker run -it --rm \
  --add-host=host.docker.internal:host-gateway \
  -v ~/.fscrawler:/root/.fscrawler \
  -v ~/resumes:/tmp/es:ro \
  -e FSCRAWLER_ELASTICSEARCH_URLS=http://host.docker.internal:9200 \
  -e FSCRAWLER_ELASTICSEARCH_API_KEY="${ES_LOCAL_API_KEY}" \
  dadoonet/fscrawler resumes
Note
--add-host=host.docker.internal:host-gateway is required on Linux so the container can reach services
published on the host. On Docker Desktop (macOS / Windows), host.docker.internal is usually available
already; keeping the flag is still fine.
You can also put the Elasticsearch settings in _settings.yaml instead of environment variables:
---
name: "resumes"
fs:
  url: "/tmp/es"
elasticsearch:
  urls:
    - "http://host.docker.internal:9200"
  api_key: "YOUR_ES_LOCAL_API_KEY"
Use http:// (not https://) with start-local. Copy the API key value from ES_LOCAL_API_KEY in
elastic-start-local/.env.
FSCrawler should index all the documents inside your directory. Then continue with Create Index pattern.
Note
If you want to start again reindexing from scratch instead of monitoring the changes, stop FSCrawler, restart it
with the --restart option:
docker run -it --rm \
  --add-host=host.docker.internal:host-gateway \
  -v ~/.fscrawler:/root/.fscrawler \
  -v ~/resumes:/tmp/es:ro \
  -e FSCRAWLER_ELASTICSEARCH_URLS=http://host.docker.internal:9200 \
  -e FSCRAWLER_ELASTICSEARCH_API_KEY="${ES_LOCAL_API_KEY}" \
  dadoonet/fscrawler resumes --restart
Alternative: manual installation
Use this path if you prefer to download Elasticsearch, Kibana, and FSCrawler yourself instead of using Docker.
Prerequisites
Java 17+ must be installed
JAVA_HOMEmust be defined
Install Elastic stack
Download Elasticsearch
Download Kibana
Start Elasticsearch server
Start Kibana server
Check that Kibana is running by opening http://localhost:5601
Start FSCrawler
Download FSCrawler. See Using docker.
Open a terminal and navigate to the
fscrawlerfolder.Type:
# On Linux/Mac
bin/fscrawler --setup resumes
# On Windows
.\bin\fscrawler --setup resumes
It will create a sample configuration file.
Go to the FSCrawler configuration folder to edit the job configuration. The FSCrawler configuration folder named
.fscrawleris by default in the user home directory, likeC:\Users\myuseron Windows platform or~on Linux/macOS. In this folder, you will find another folder namedresumes. Enter this folder:
# On Linux/macOS
cd ~/.fscrawler/resumes
# On Windows
cd C:\Users\myuser\.fscrawler\resumes
Edit the
_settings.yamlfile which is in this folder and change theurlvalue to your folder which contains the resumes you would like to index.On Linux/macOS:
---
name: "resumes"
fs:
  url: "/path/to/resumes"
On Windows:
---
name: "resumes"
fs:
  url: "c:\\path\\to\\resumes"
If your Elasticsearch cluster requires an API key (recommended), add it under
elasticsearchas well. See Elasticsearch settings.Start again FSCrawler:
# On Linux/macOS
bin/fscrawler resumes
# On Windows
.\bin\fscrawler resumes
FSCrawler should index all the documents inside your directory.
Note
If you want to start again reindexing from scratch instead of monitoring the changes, stop FSCrawler, restart it
with the --restart option:
# On Linux/Mac
bin/fscrawler resumes --restart
# On Windows
.\bin\fscrawler resumes --restart
Create Index pattern
Open Kibana
Create a Data View named
resumesfor theresumesalias (documents are stored inresumes_docsby default). Don’t forget to remove the star*that is automatically added by default by Kibana.
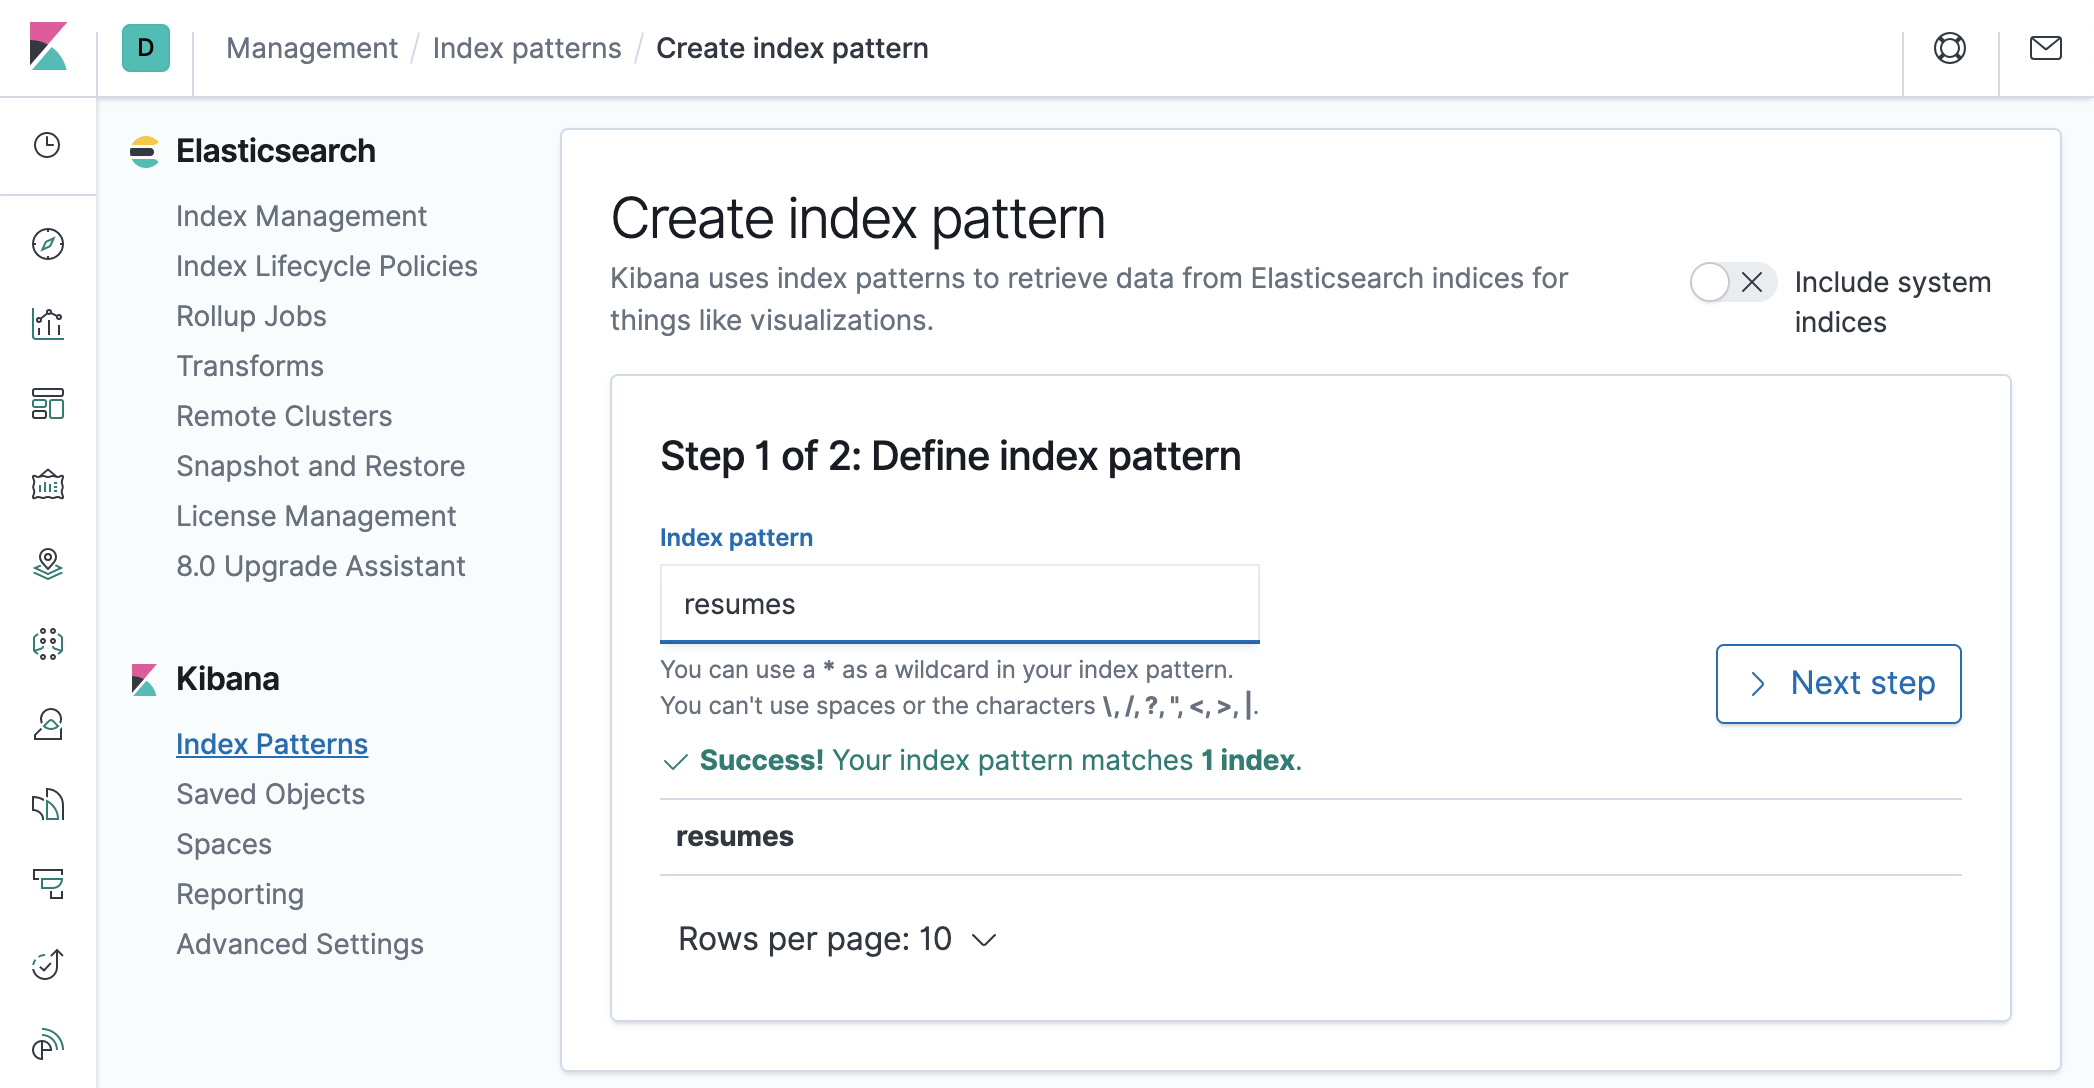
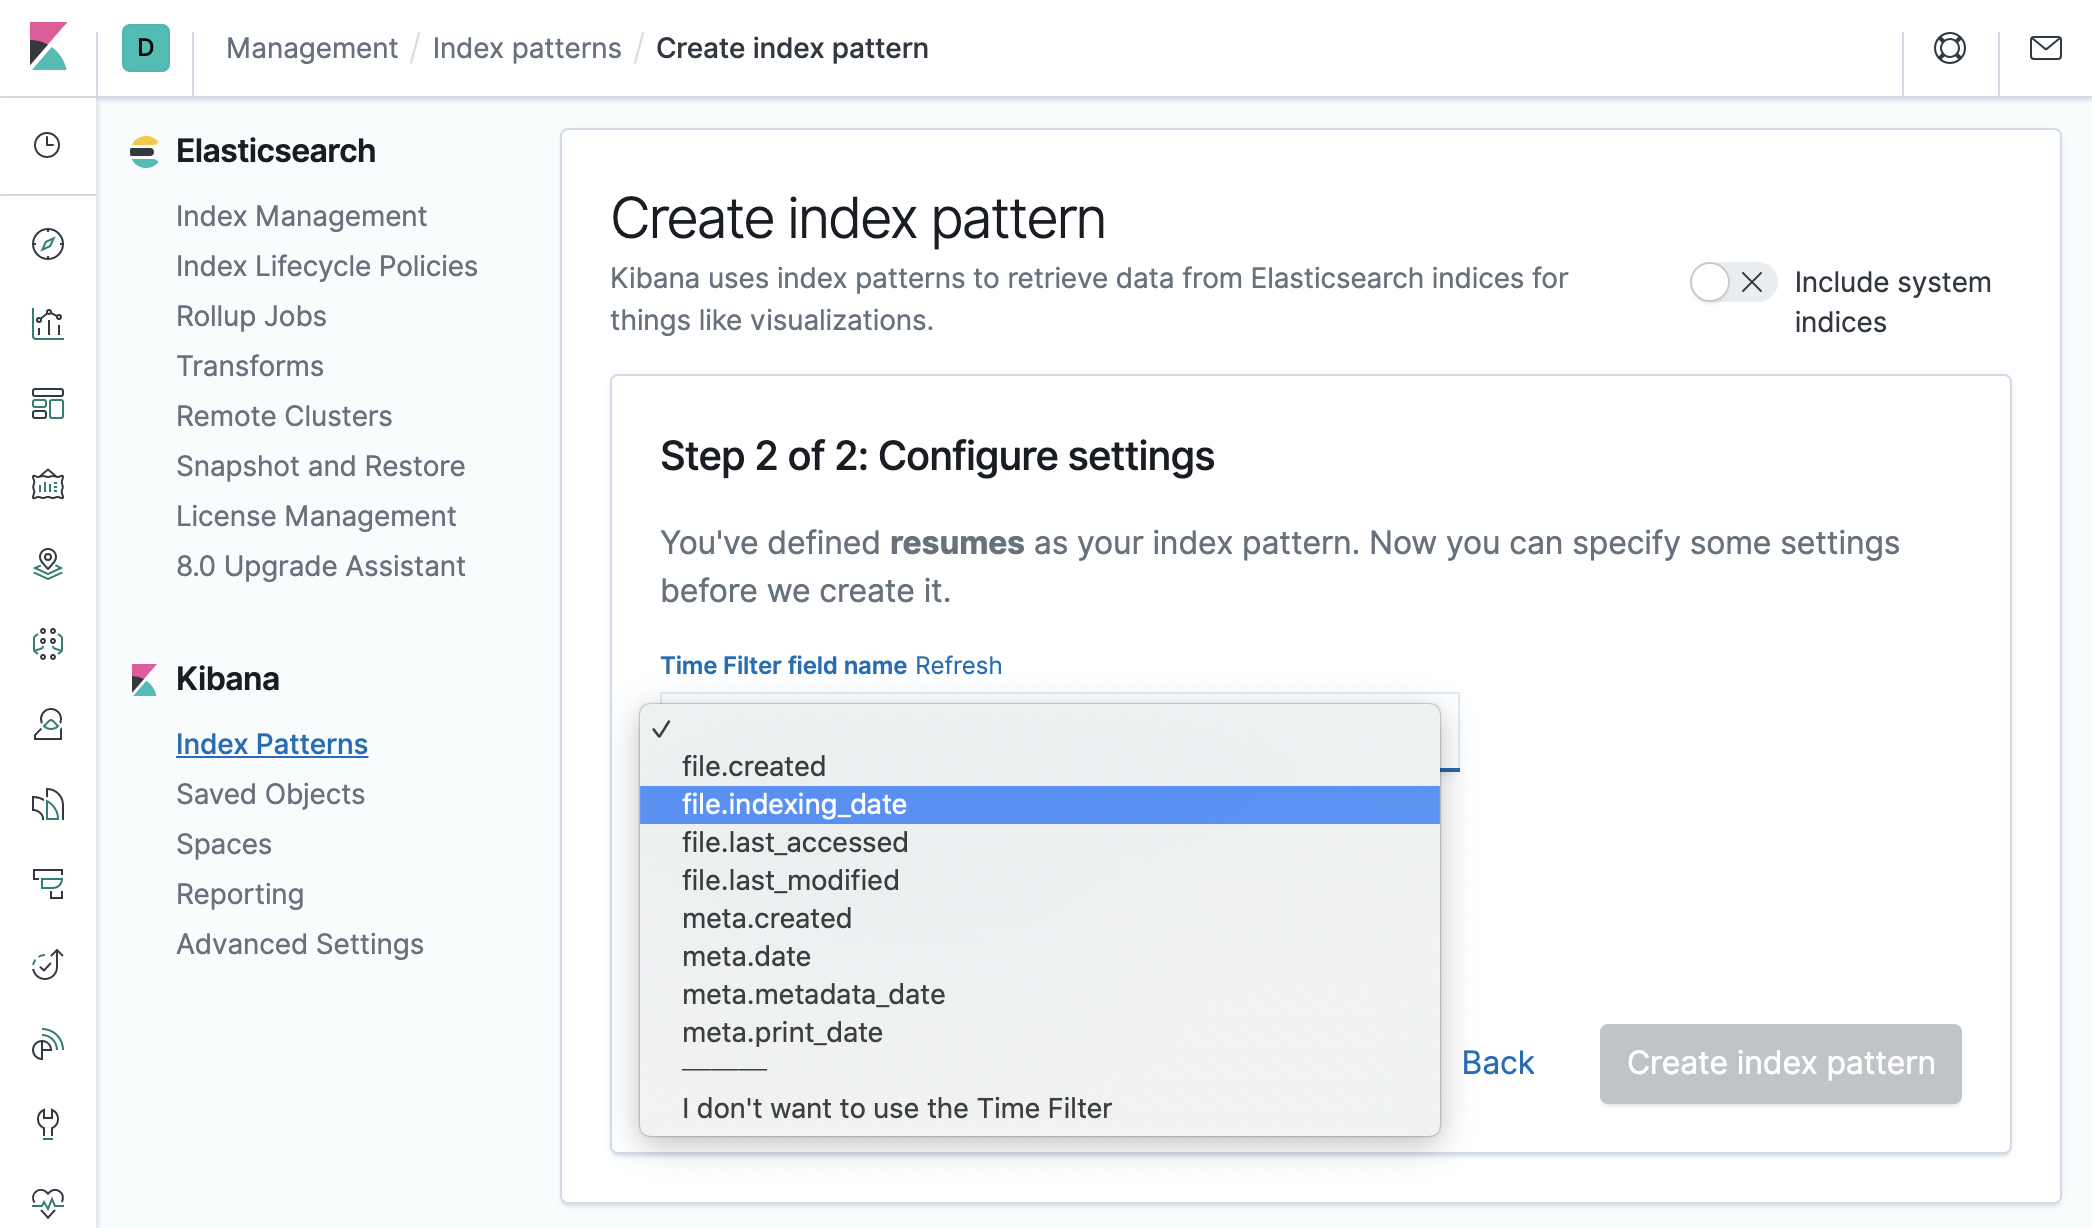
Choose the date field you’d like to use if you want to be able to filter documents by date. Use
file.createdfield if you want to filter by file creation date,file.last_modifiedto filter by last modification date orfile.indexing_dateif you want to filter by the date when the document has been indexed into elasticsearch. You can also choose not to use the time filter (the last option).
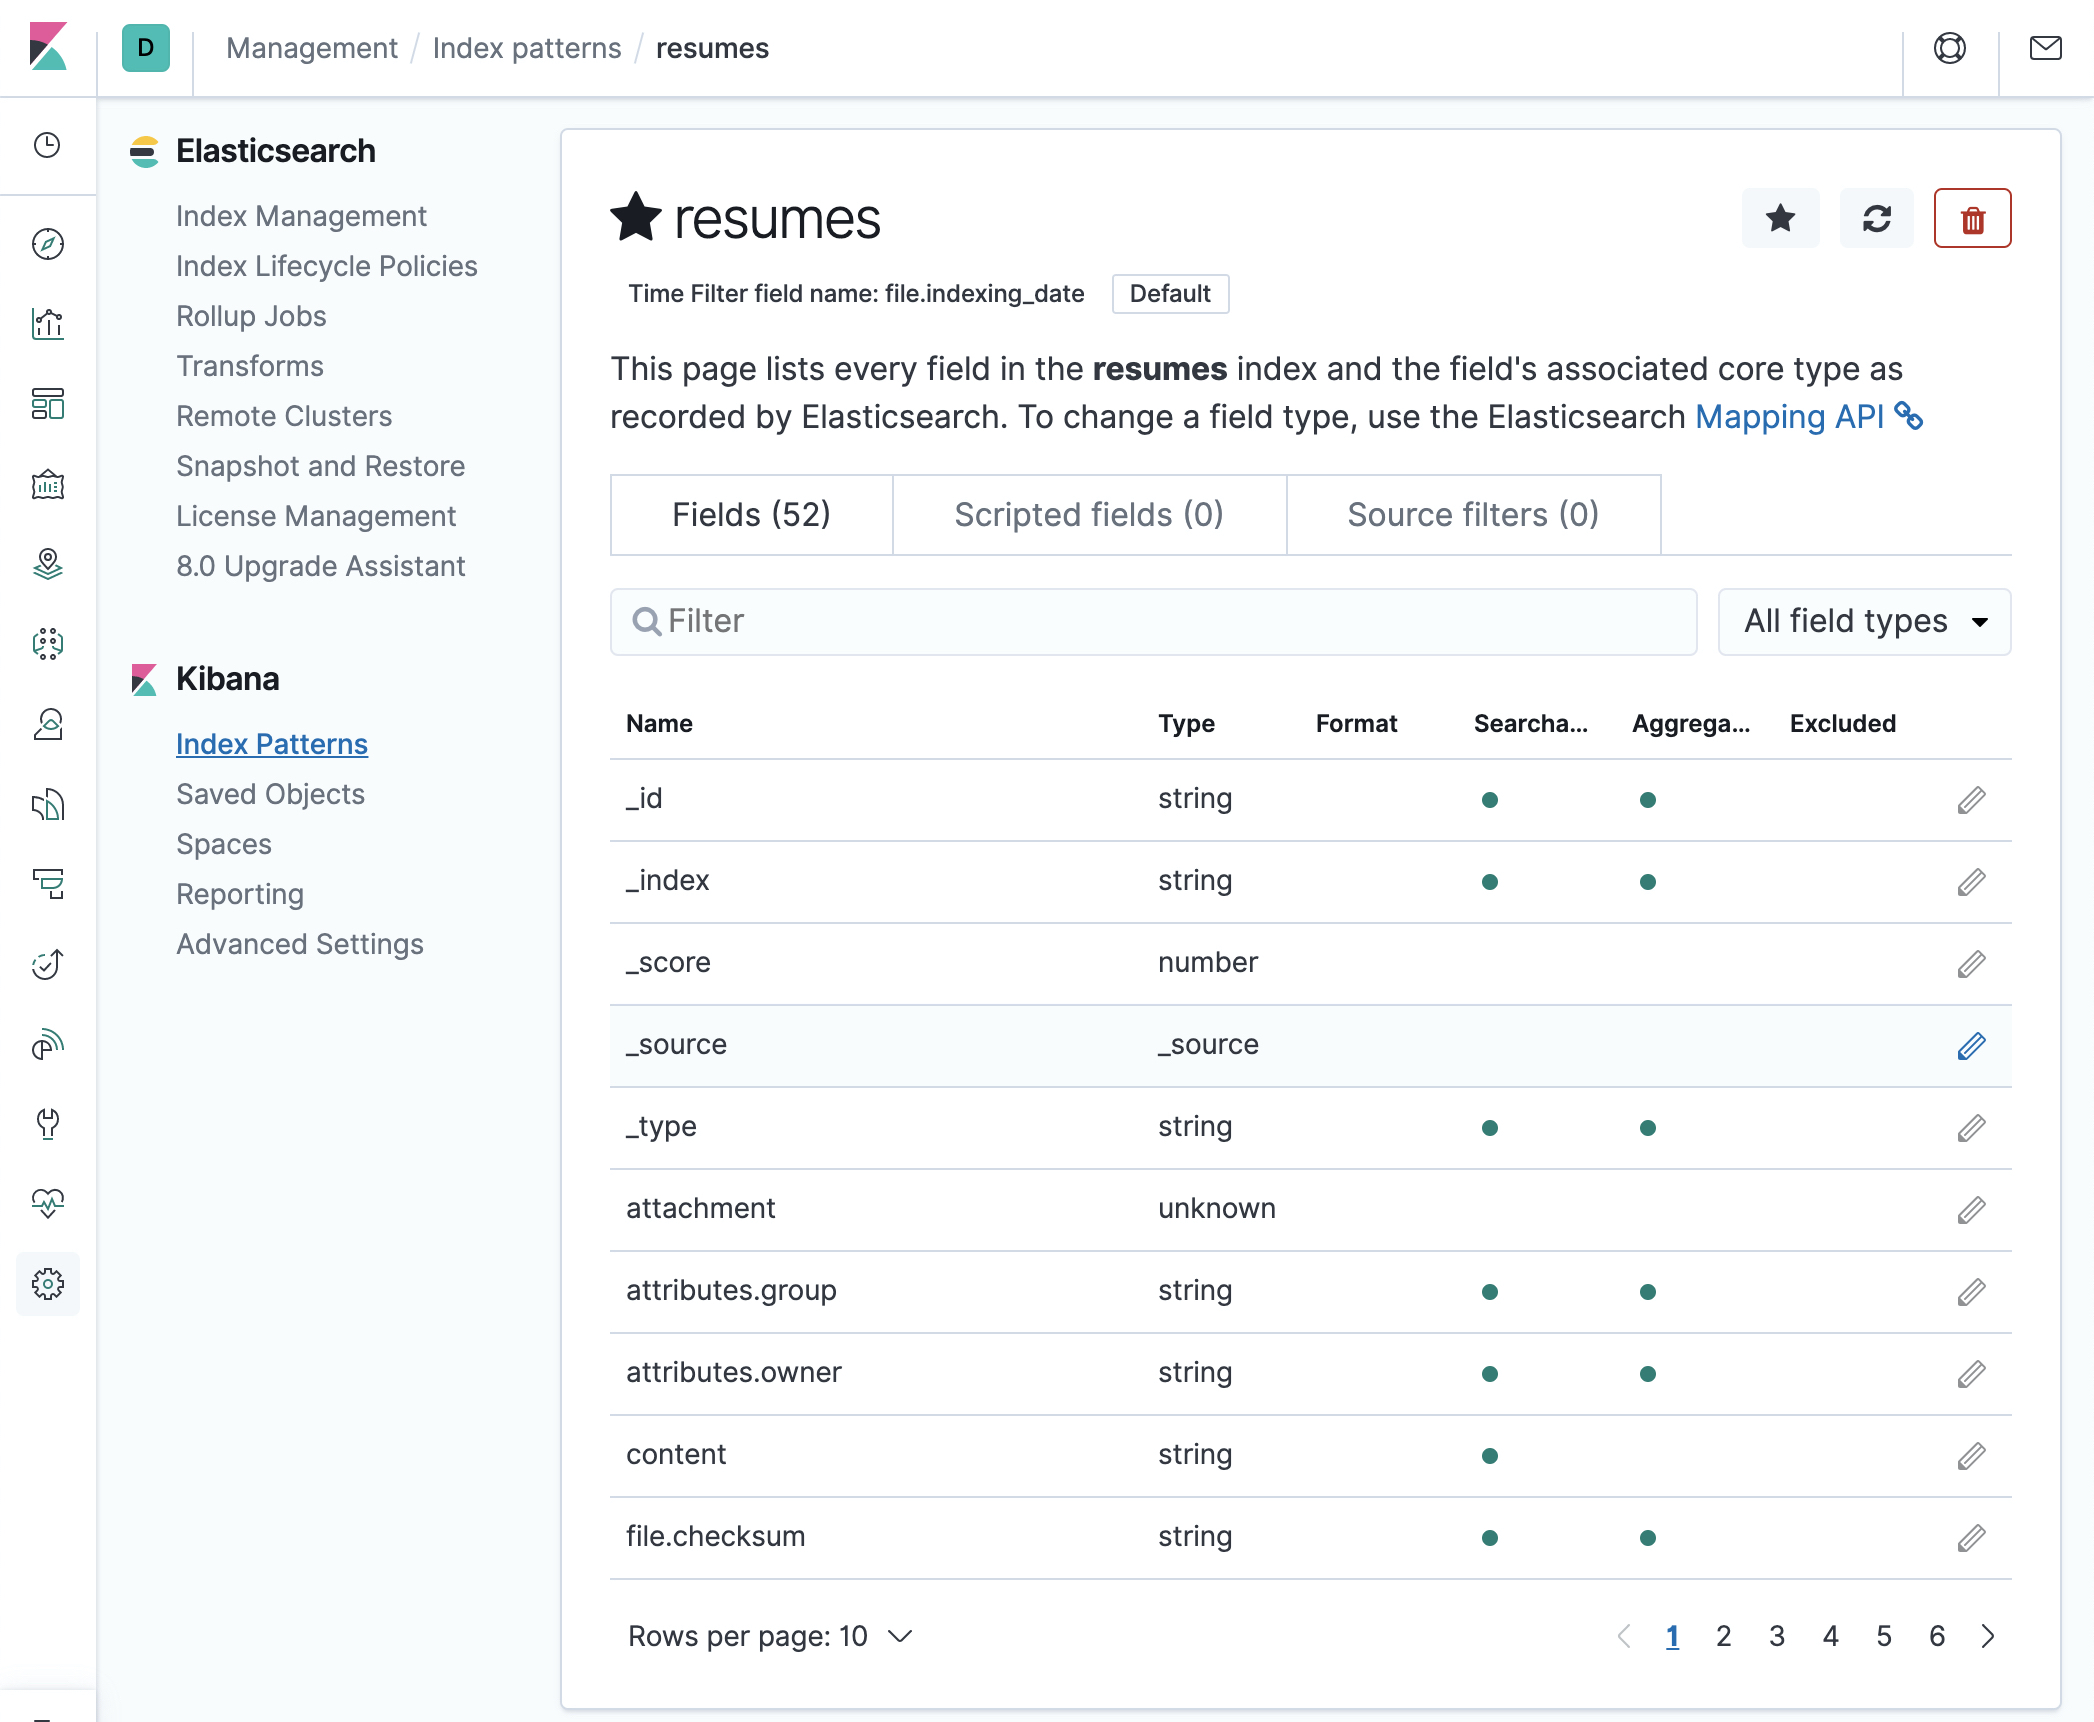
Click on “Create index pattern”. You should see something like:
Search for the CVs
Note
The UI in Kibana changes from time to time. The screenshots below might not be up to date with the current version of Kibana.
Open Kibana
Go to the Discover page
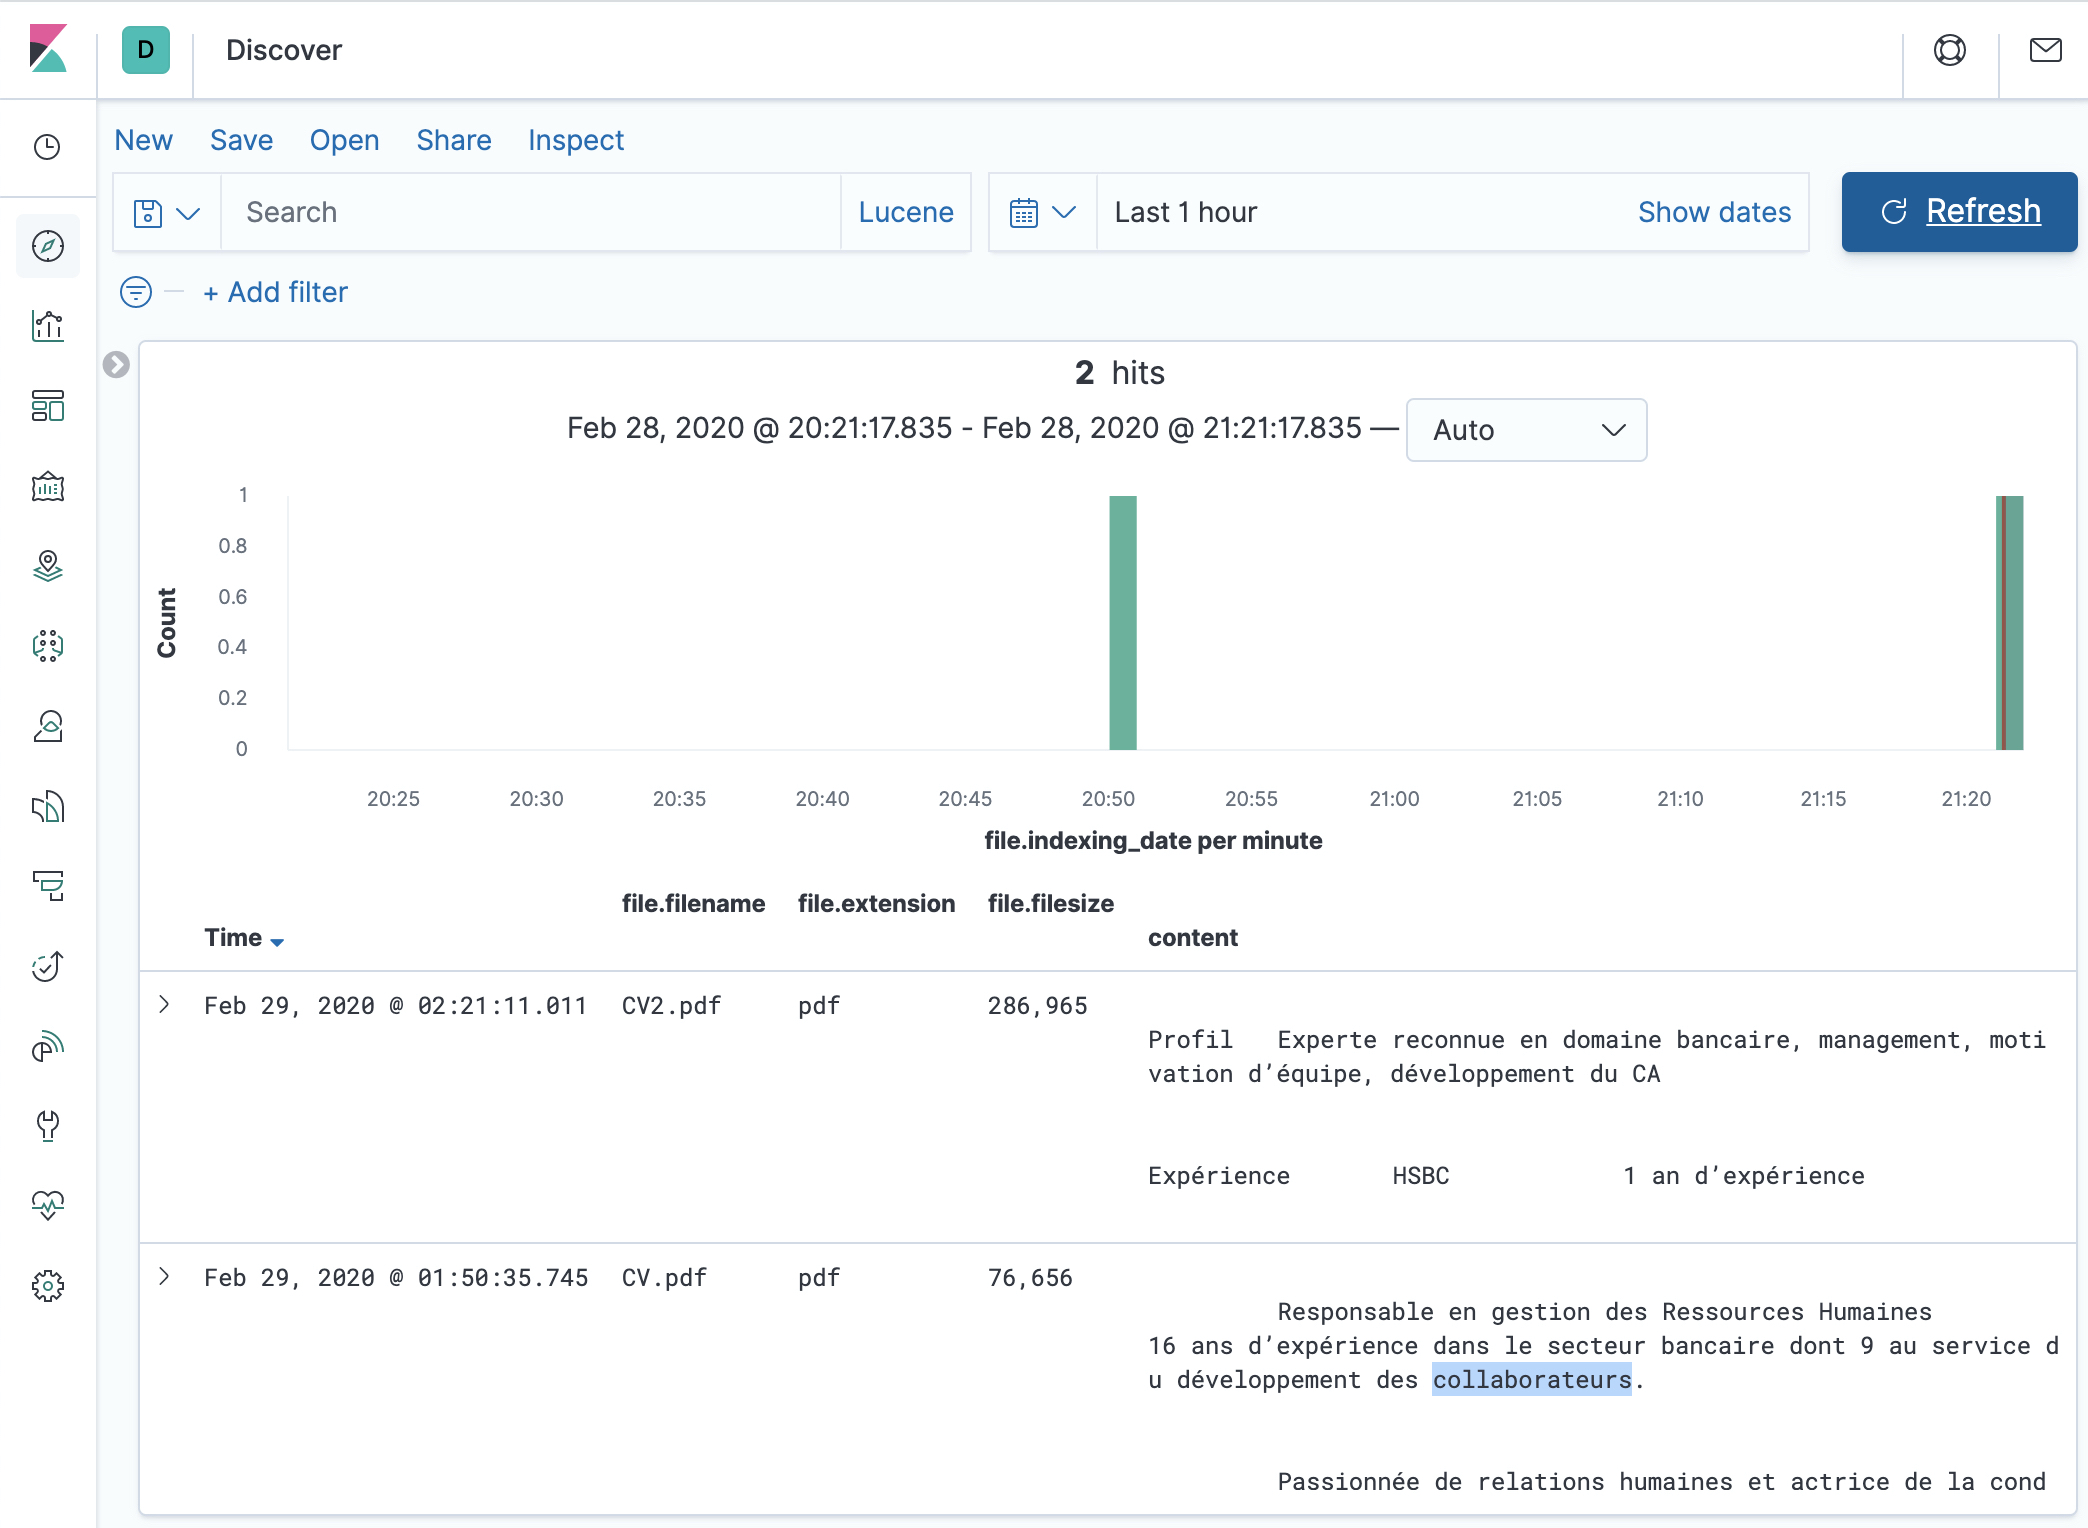
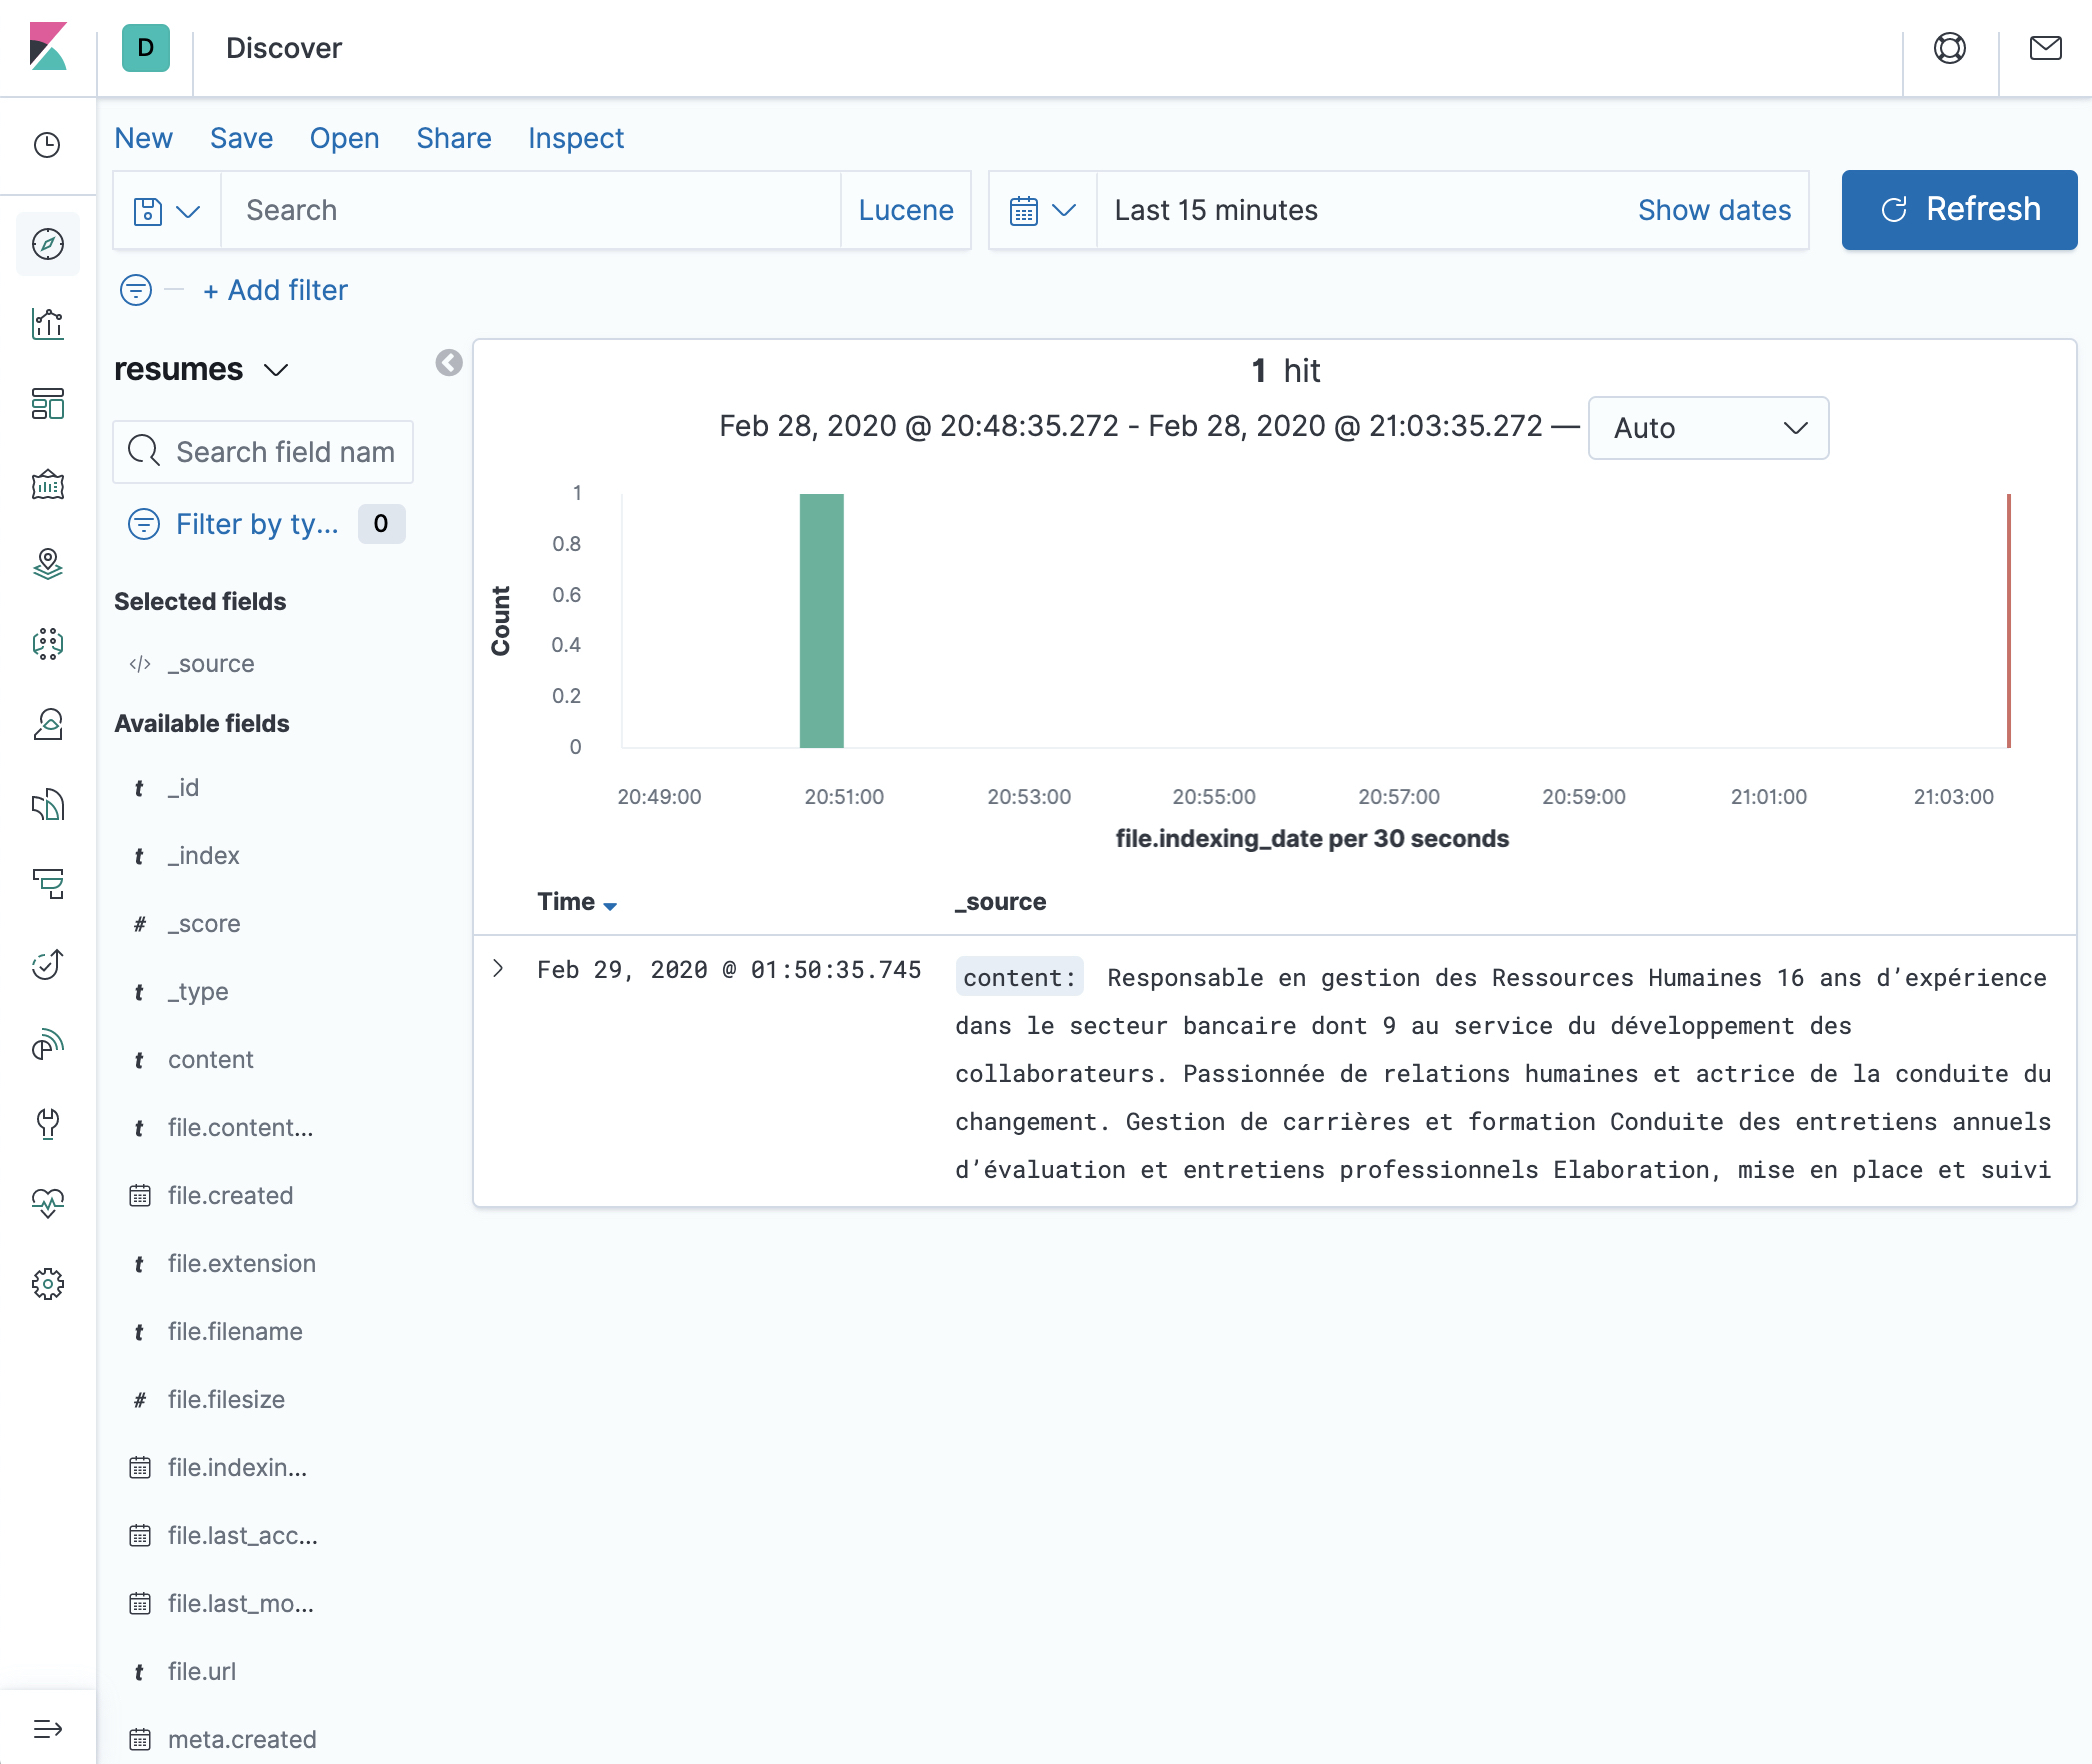
Depending on the date you selected in the Create Index pattern step, you should see something similar to the following image. If you don’t see it, you probably have to adjust the time picker to make sure you are looking at the right period of time.
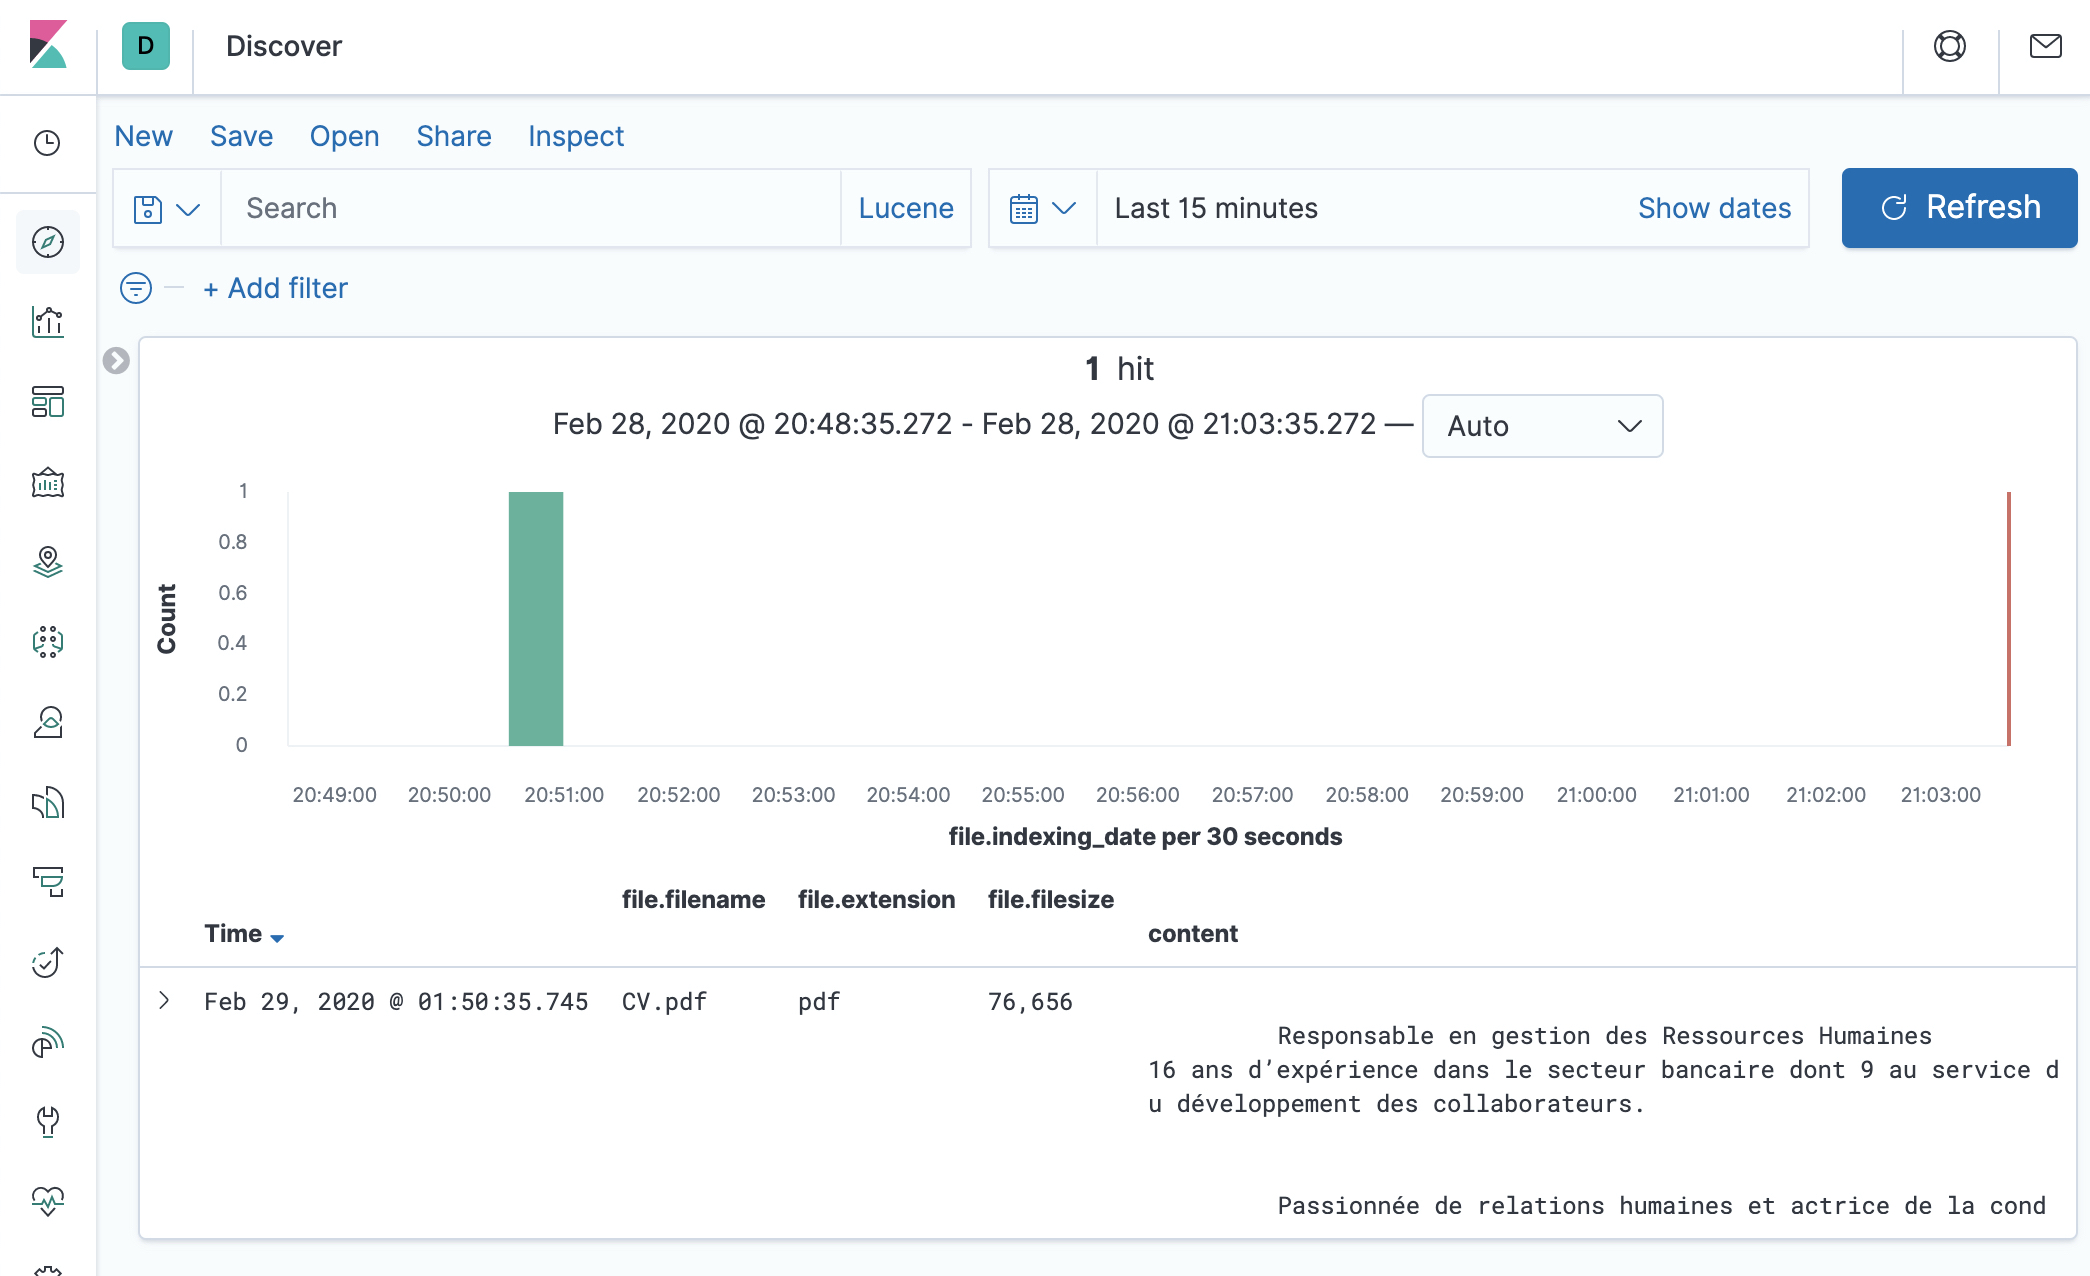
You can select the fields you’d like to display in the result page, such as
content,file.filename,file.extension,file.url,file.filesize, etc.
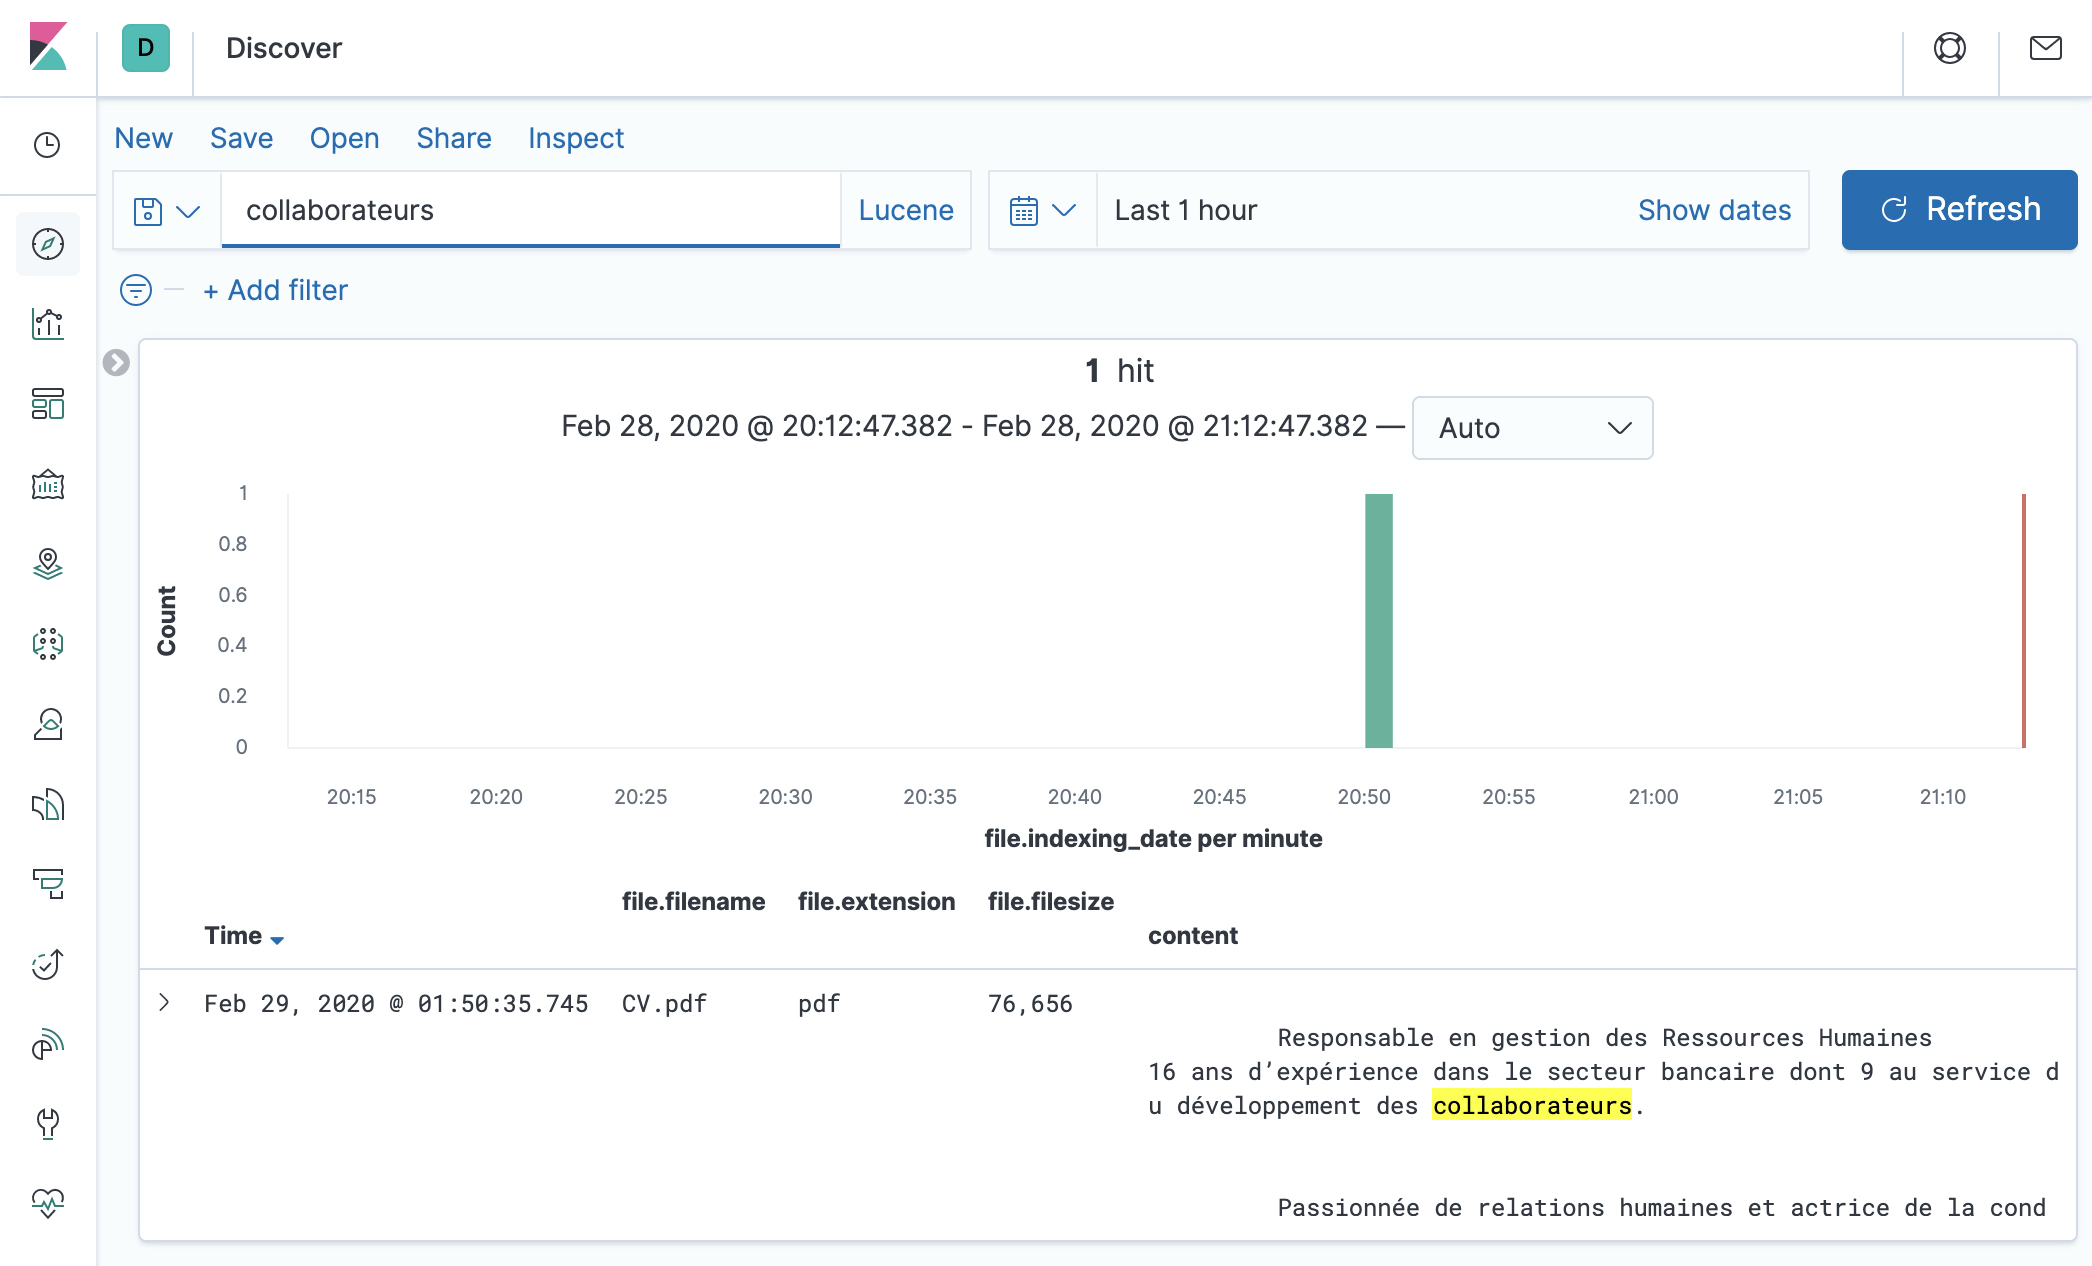
Of course, you can search for content, like
collaborateurshere and see the highlighted content.
Adding new files
Just copy new files in the resumes folder. It could take up to 15 minutes for FSCrawler to
detect the change. This is the default value for update_rate option. You can also change this
value. See Update rate.
Note
On some OS, moving files won’t touch the modified date and the “new” files won’t be detected. It’s then better probably to copy the files instead.
You might have to “touch” the files like:
touch /path/to/resumes/CV2.pdf
Just hit the Kibana refresh button and see the changes.